Google Drive is free, feature-rich, and a perfect companion to a website project. Its commenting and shared-document features make it the easiest way to prepare your website content before it goes live. Here’s how we use it to organize content before it ever touches the site.
Create nested folders
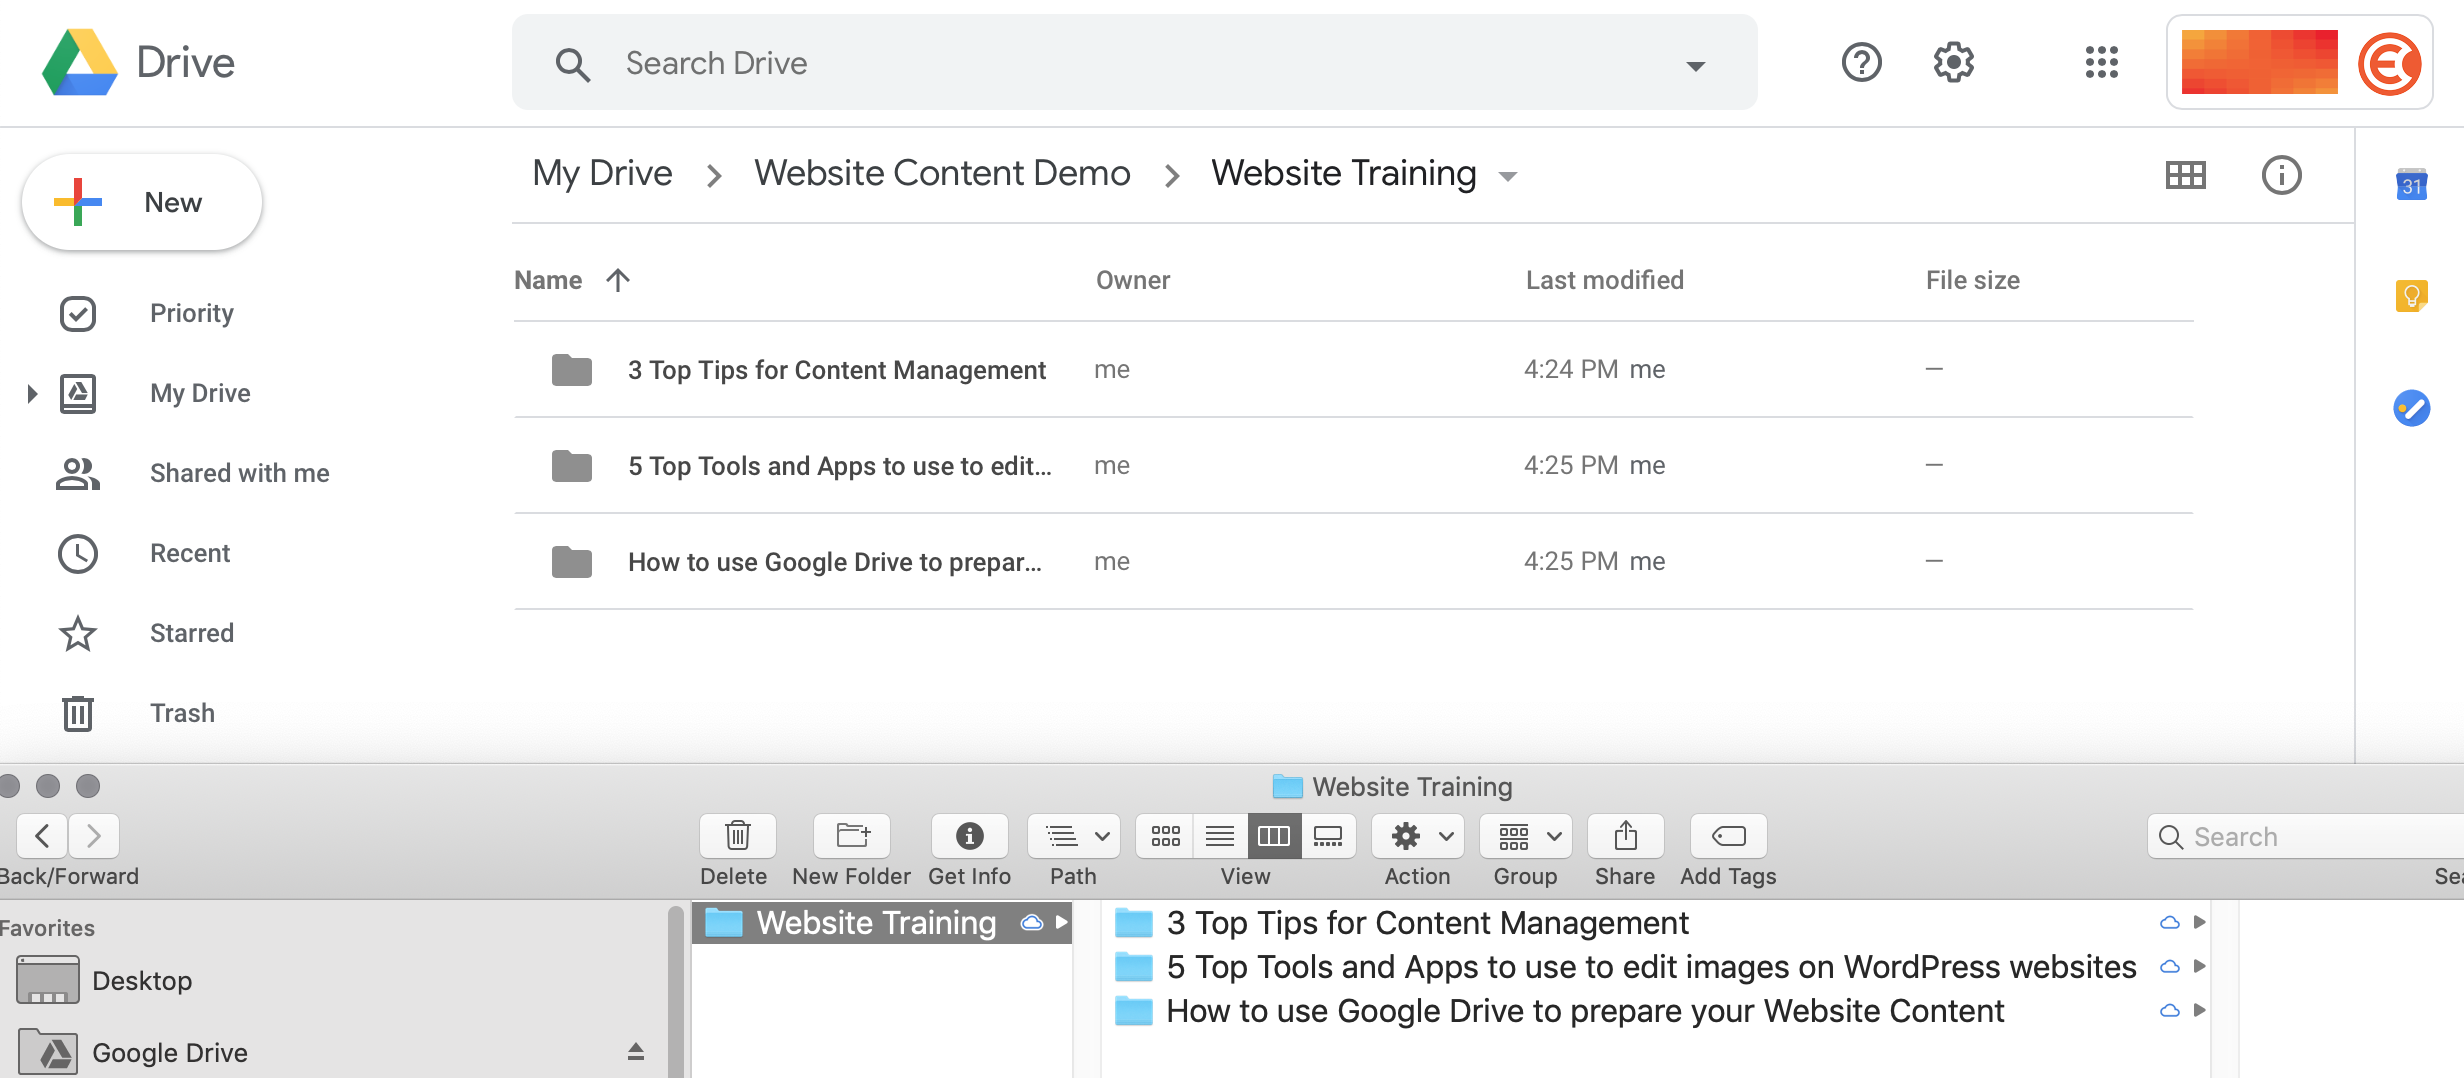
Use your site outline as a guide, then build folders to match:
- Create a folder for each section of the site.
- Inside it, create a folder for each page.
- Name each folder exactly like the page title.
- Your first document should be the site outline itself.
A single folder per page gives every photo, video, and PDF for that page one organized home. Those media files need to be loose, not embedded inside the text document. In the example above there’s a “Website Training” section with three pages nested inside it.
Organize and upload
- Upload your text files (each page’s written content).
- Upload any photos and video.
- Scale and crop your images (RGB, 72 DPI, about 1024px).
Images cannot be embedded inside Word files; they have to be loose image files in the folders. (More on file formats.)
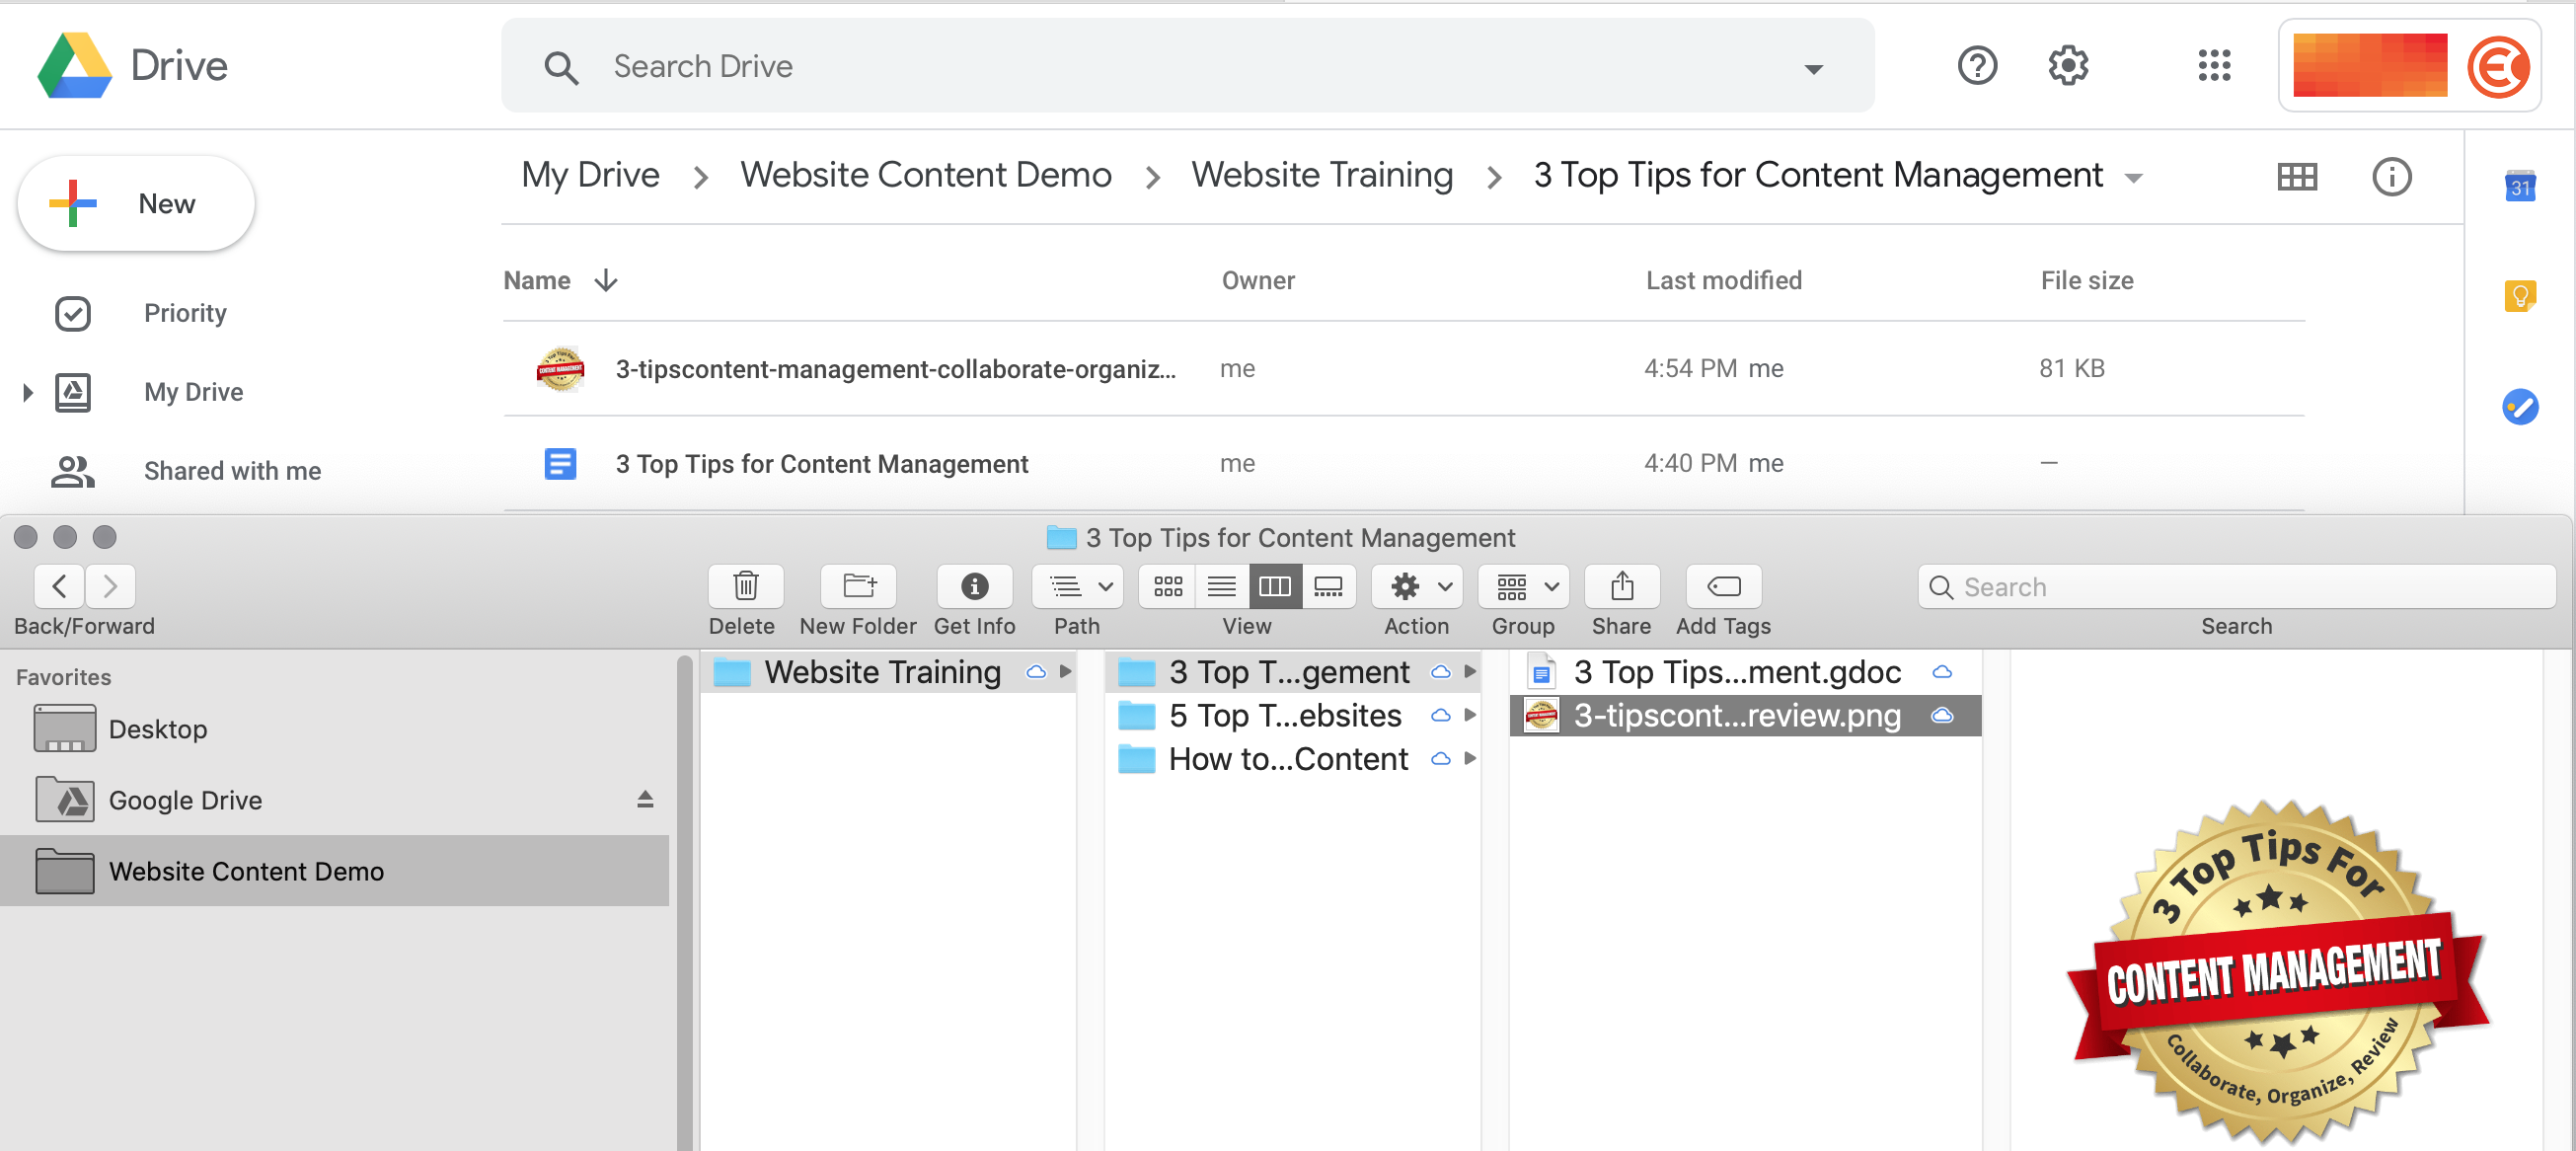
A single text document per page keeps all of that page’s copy in one place, while the loose image files are what actually goes on the site. It also sets you up with a clean workflow for managing the site yourself later.
Convert to a Google Doc
(Only if you uploaded Word files.)
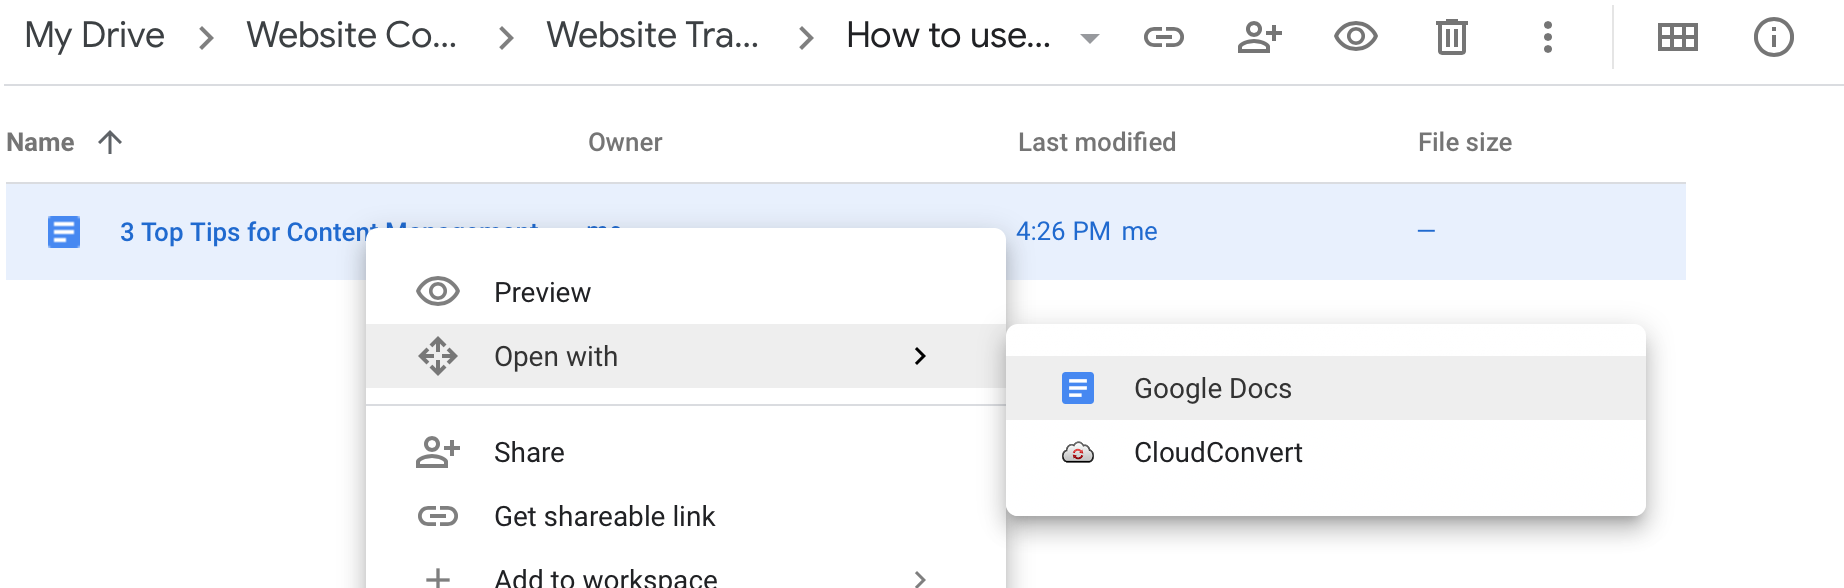
- Opening your Word file creates a Google Doc.
- Delete the old Word file.
Only convert if you intend to collaborate on and edit the document.
Clear the formatting
(Text color, specific fonts, and any non-default sizes.)
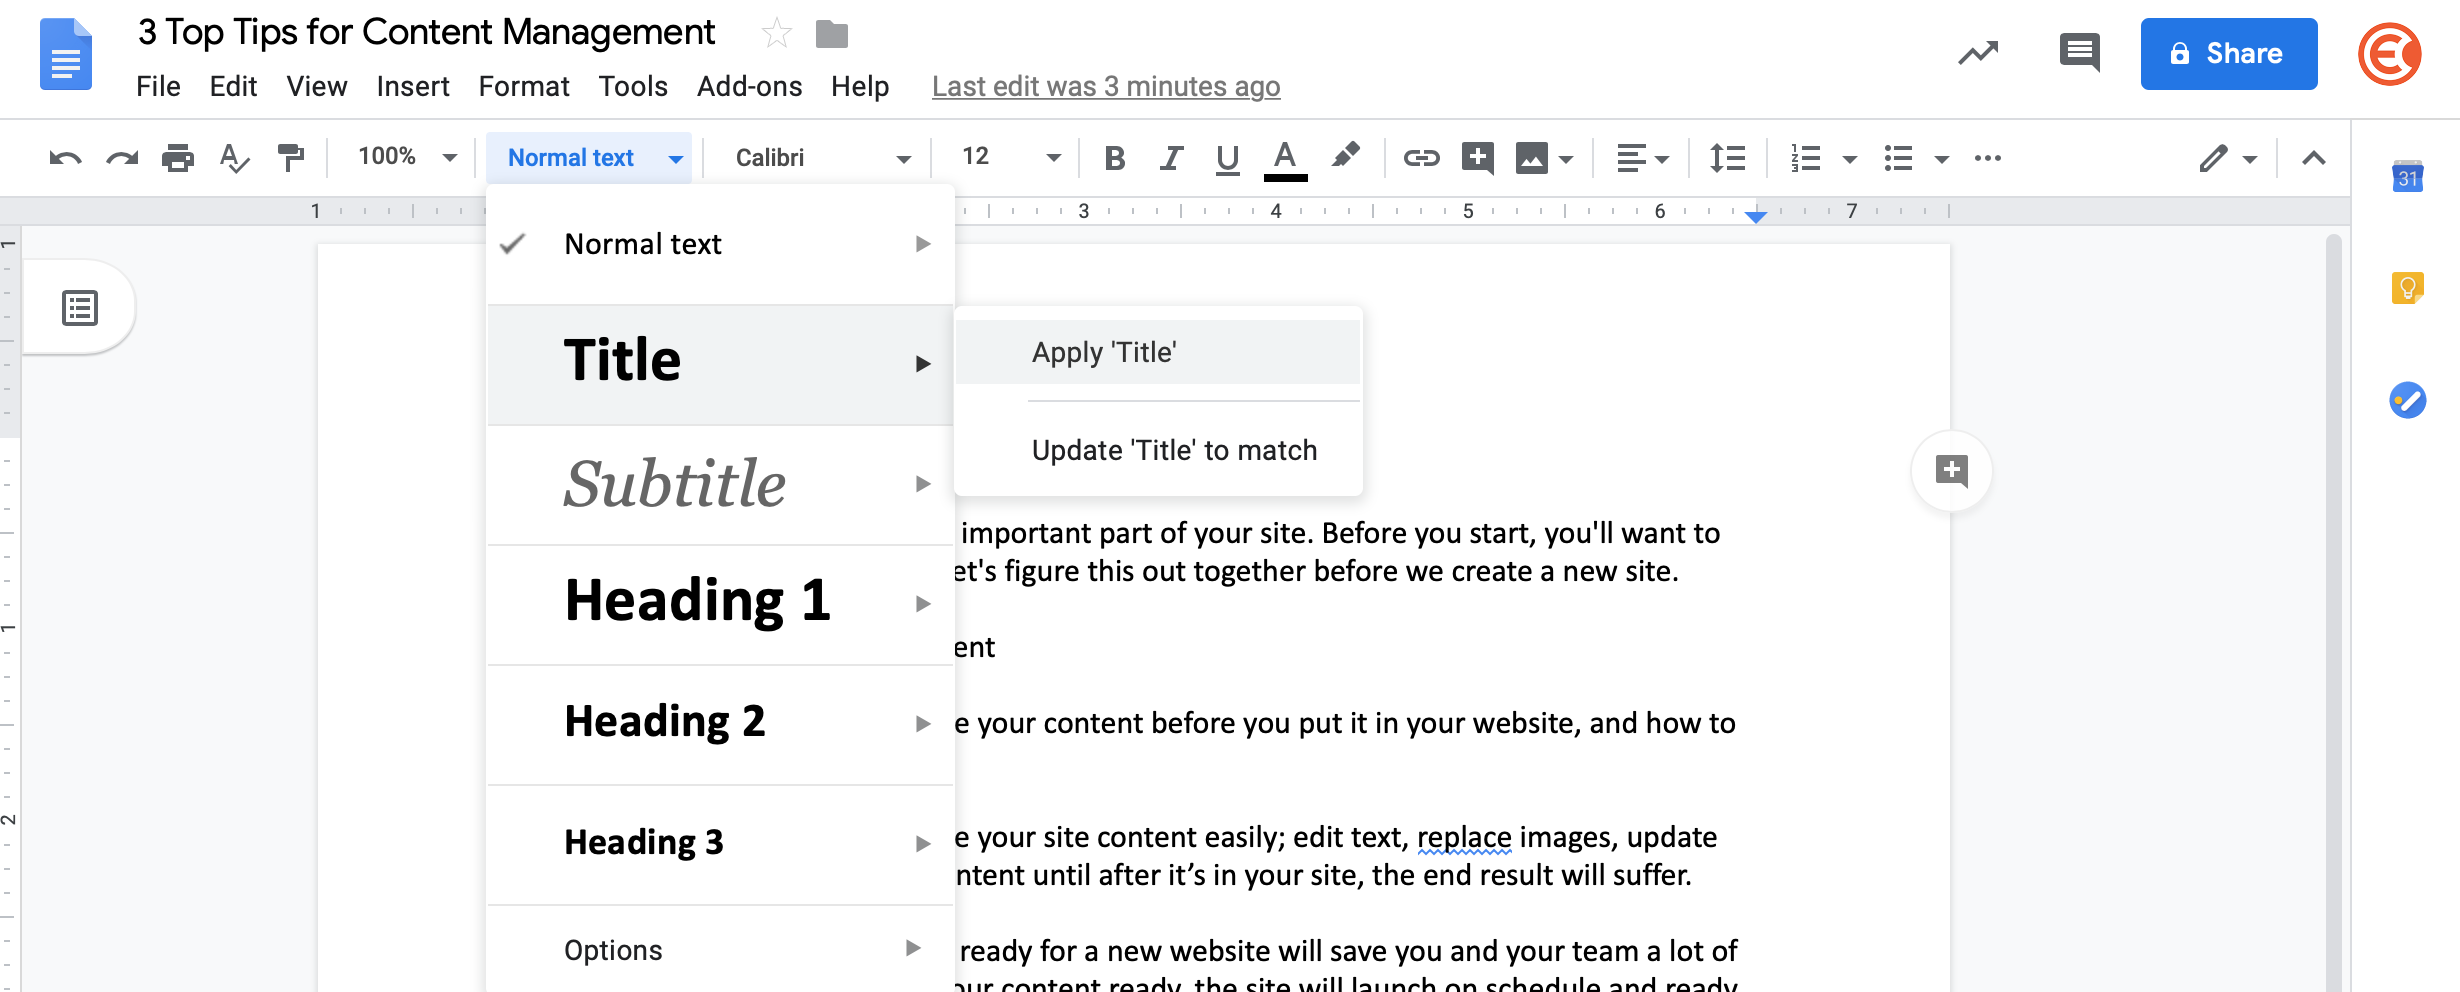
- Bold, italic, headers, and links are supported.
- Clear out font, size, and color formatting.
WordPress and its CSS styles take over the site’s look and feel, so clearing your own styling matters even if you never plan to edit the page yourself. Copy and paste carries bold, italic, headers (1 through 4), and links.
Edit and review
- Make sure your content is free of grammar and spelling errors.
- Verify that every detail is accurate and clear to the reader.
- Then consider the content done and ready to go live.
It takes far more time, and more cost, to review a live website for edits than to finish the content here first.
Need some help?
- Schedule a tutorial for an in-office session on your website content.
- A new website: strategy, design, and build.
- FAQs for answers to common questions.
- Get started when you’re ready.